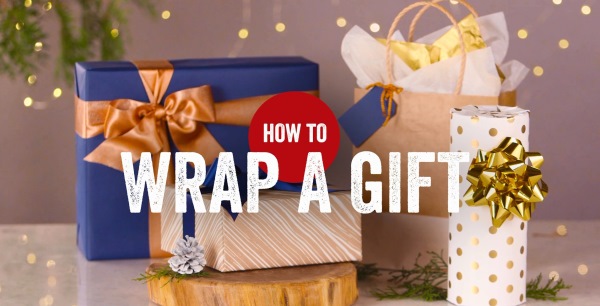
Your holiday shopping might be done, but now you’re faced with a pile of gifts to wrap. (The average American spends three hours wrapping each year, according to Consumer Reports, and collectively, we spend $3.2 billion on wrapping paper, according to Hallmark.) Instead of paying to have online purchases wrapped or waiting to have it done in-store, follow our tips to speed up the wrapping process and save paper.
Beautiful wrapping is like the cherry on top of a great gift—it’s that simple finishing touch that makes it all the sweeter. So there’s nothing more frustrating than a wrapping job gone wrong. Luckily, mathematicians have figured out how to wrap gifts quickly and efficiently every time. Here are four techniques that work for gifts of all shapes and sizes.
What You’ll Need:
- Gifts
- Boxes
- Wrapping paper
- Gift bags
- A ruler
- Scissors
- Tape
- Bows, ribbons and gift tags, and
- A large, flat working surface
Rectangular Boxes: The Three Pieces of Tape
Always start by putting your gift in a box to make it easier to wrap. This method works for almost any rectangular box: clothing boxes, shoeboxes, jewelry boxes, tie boxes, you name it.
And it’s easy—just measure with your box to cut a perfectly sized rectangle of wrapping paper.
STEP 1: MEASURE
Always use the box’s largest face as your base, so the width is the longest side, the depth is the medium side and the height is the shortest side.
Measure the box against the width of your wrapping paper—two depths and two heights—by rolling the box end over end. If it doesn’t fit, turn the wrapping paper and measure the other way, against the length. This gives you one side of the rectangle. Add about an inch for overlap and mark the spot with a little crease.
2 heights + 2 depths + 1 inch overlap = side one
The other side of the rectangle should measure one width of the box, plus two heights, plus a half-inch of wiggle room. Mark this with another little crease.
1 width + 2 heights + ½ inch overlap = side two
STEP 2: CUT
Using the creases as guides, cut out your rectangle.
Place the box upside down in the middle of the rectangle so the wrapping paper seam will be on the bottom of the finished package.
STEP 3: WRAP
Wrap the paper around the box and secure with one piece of tape. Fold in the sides and secure each with one piece of tape—for a total of three pieces of tape. Add as many ribbons, bows and gift tags as you like.
Square Boxes: The Mathematical Ideal
If you have a square box, this wrapping hack—developed by mathematician Sara Santos—is the way to go. You’ll need a ruler, but it will help you get a perfect finish every time.
STEP 1: MEASURE
This time, you’ll be cutting a square piece of paper. To figure out how long each side of the square should be, start by measuring the diagonal of one of the square faces of your box. Remember that number.
Next, measure the height of the box (the non-square dimension) and multiply by 1.5. Add this number to your diagonal measurement. This sum is how long each side of your square piece of paper should be.
Our box measured 5 inches diagonally and was 2 inches tall. 2 times 1.5 is 3, so we added 5 and 3 for a paper measurement of 8 inches.
1 diagonal + (1.5 x height) = length of each side of the paper
STEP 2: CUT
Cut the paper and lightly fold it in half both ways to give yourself guidelines.
Set the box on an angle in the middle of the paper, with its corners lined up with the folded guidelines. It should be resting upside down on one of its square faces.
STEP 3: WRAP
Wrap the paper onto the box one corner at a time. The first few times, you can use two pieces of tape. With practice, you might even be able to do it with one.
Cylinders: The Roll-Up
This gift-wrapping hack is for cylinders that are taller than they are wide. Think bottles of wine, scented candles or tall jars of homemade treats. Mathematician Warwick Davis calls this a “rotational method.” In plain English, you roll up the item in the paper.
STEP 1: MEASURE
Place the item on its side on the paper, parallel to the roll of paper. Roll the bottle or jar up to check that you’ll have enough paper to wrap around it completely. You should also double-check that there’s enough at the ends to cover the item.
STEP 2: CUT AND WRAP
Cut the paper, roll up the bottle and tape to secure. You can either fold in the ends of the paper or tie them off with ribbon so the package looks like a wrapped candy.
Awkward Shapes: The Easy Way
If you’ve made it through all the other gift-wrapping methods, you’re ready for this advanced technique. This is for objects with weird shapes, like toys in plastic packages or sports equipment.
STEP 1: PLACE
Mathematicians agree that to limit wasted paper, you should just put these items in a gift bag! Add a ribbon and a gift tag, and that’s a wrap.
Happy wrapping, and happy holidays from GEICO More!
Next article: How to Prevent Common Holiday Hazards

