9 Pumpkin Carving Tips For The Best Jack-o’-Lantern On The Block
This weekend, pour yourself a glass of apple cider, break out the toolbox, and dive elbows-deep into a freshly picked pumpkin. Here are 9 tips to make your jack-o’-lantern stand out from the crowd this Halloween season.
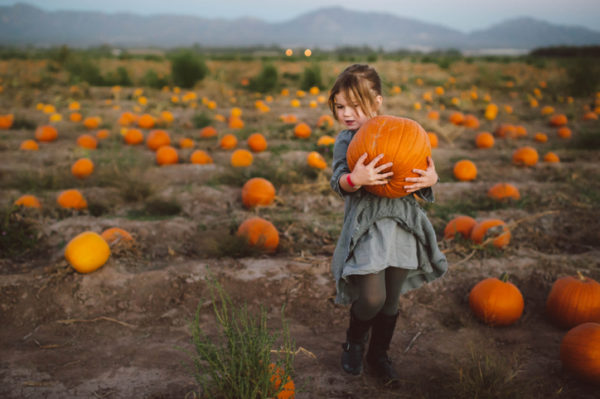
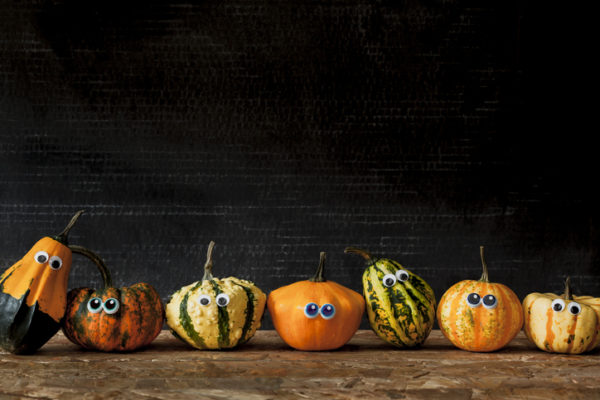
1. Choose your pumpkin wisely.
Great jack-o’-lanterns start out as high-quality fresh pumpkins. Choose one with a thick, green stem; this indicates it’s been recently picked, and that the flesh is sturdy and can withstand some serious carving. Also, steer free of pumpkins covered in mushy spots, bugs, or bruises.
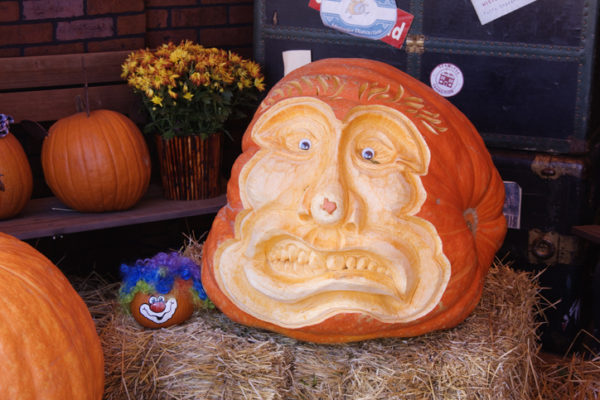
2. Work with a pumpkin’s shape.
If the plump, perfectly round pumpkins have already been picked at the pumpkin patch (or they’re sold out at the grocery store), don’t turn your nose up at an oblong, lumpy, or lopsided one. With a little creativity and a deft carving hand, a misshapen gourd can be transformed into a hook-nosed witch, a wrinkly monster, or an exotic animal.
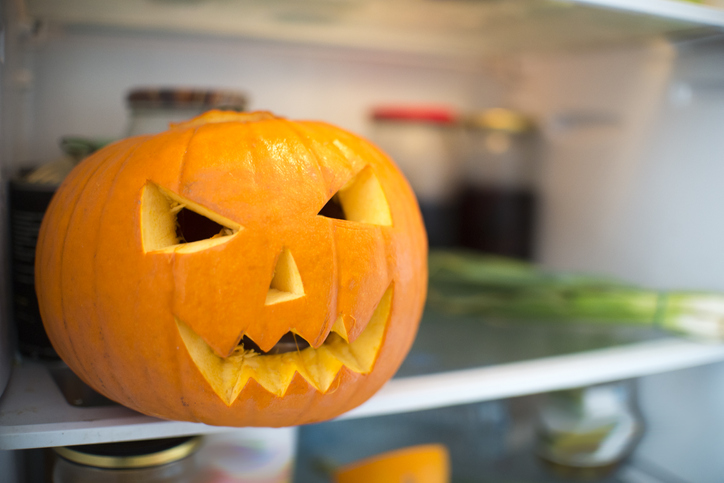
3. Keep your pumpkin fresh.
It’s tempting to buy and carve your pumpkin at the beginning of Halloween season, but keep in mind that it will begin decomposing as soon as you slice it up. Resist temptation, and wait until a few days before All Hallows’ Eve to break out the knives. If you’ve already carved the pumpkin and want to keep it fresh, consider refrigerating it at night, misting it with peppermint water (it has antifungal properties), spreading petroleum jelly over the cut edges to lock in moisture, or soaking it overnight to perk it up.
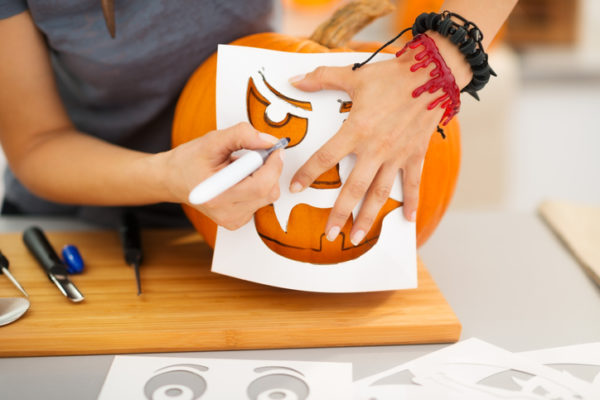
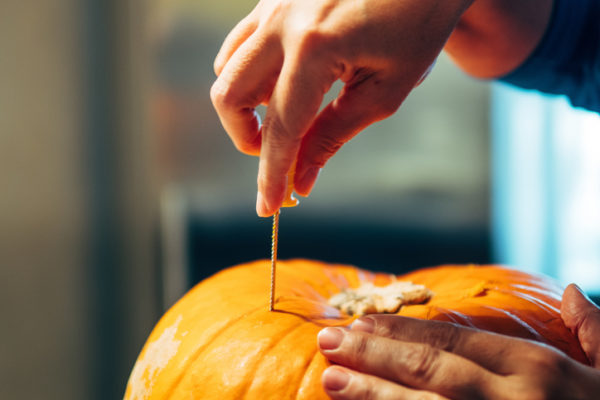
4. Sketch your design with a dry-erase marker.
Before cutting into the pumpkin, you’ll want to sketch a traceable design to guide your carving efforts. A pencil is too light for the job, but with a pen or permanent marker you run the risk of making indelible mistakes. Your best bet is a dry-erase marker.
5. Think twice about the lid’s location.
Most people cut the Jack-O-Lantern’s lid at the pumpkin’s top, but this severs off the stem, which provides the pumpkin with nutrients even after it’s been picked. Consider positioning the lid in the back of the pumpkin, or at its base.
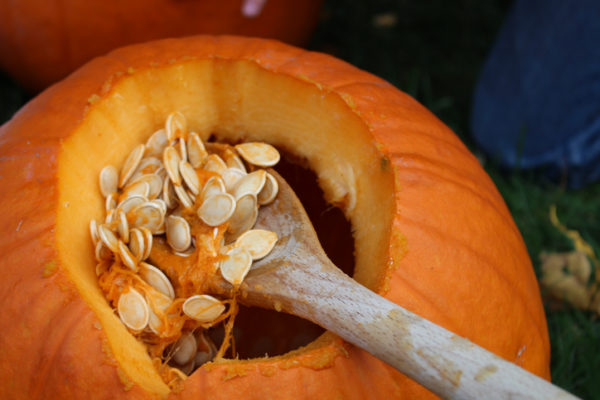
6. Scoop out all the pulp.
Once you scoop out all the pulp, scrape the pumpkin’s walls clean and thin out the areas you’ll be carving. This makes it easier to carve designs—plus, you run the risk of mold if you leave any stringy bits inside. We recommend using an ice cream scooper or a big metal spoon.
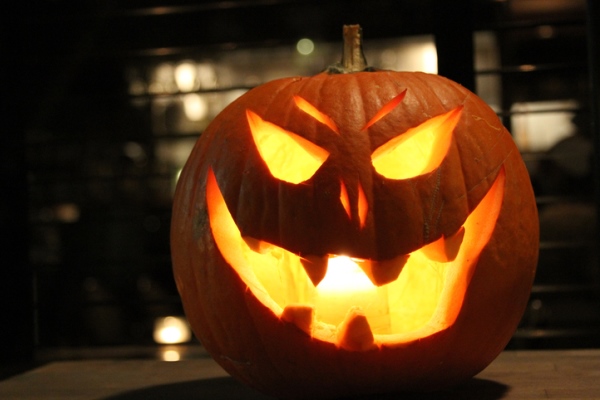
7. Swap the candles for electric lights.
With candles, you run the risk of fire—plus, you’ll melt the pumpkin. Consider using LED lights, glow sticks, or even Christmas lights wrapped around a jar.
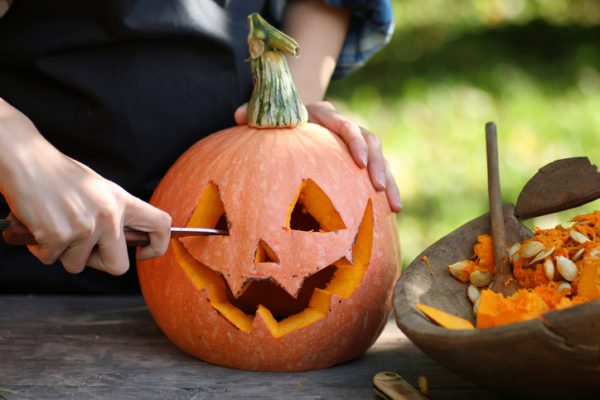
8. Get creative with your carving tools…
Most pumpkin-carving professionals recommend paring knives (or the blades included inside a kit), but feel free to experiment with tools that yield different effects. Try boring holes into the pumpkin with a drill, razing sections off with a saw, or using a tiny utility knife to add interesting details.
9. …and with your decorating materials.
If being elbows-deep in pumpkin pulp isn’t your thing, consider painting or decoupaging your pumpkin; covering it in studs, sequins, and glitter; or even hollowing it into a “vase” filled with fresh flowers.
Jack-o-Lanterns can’t protect your home from the unexpected, but homeowners insurance through the GEICO Insurance Agency can. Get a fast, free quote at geico.com today and see how much you could save on quality home insurance.
Read more: Keep Halloween a safe and fun holiday for the family by following these safety tips.