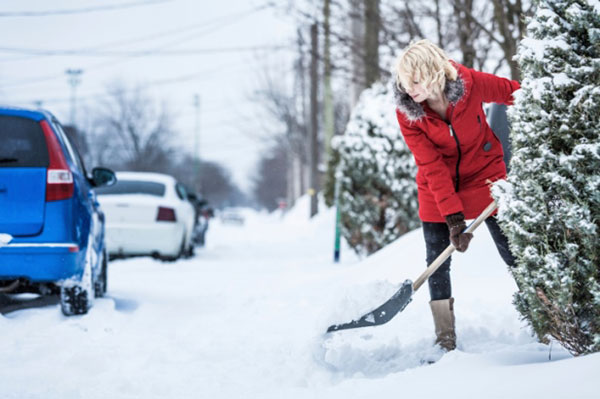
Unless your means of transportation is a snowmobile (with snowmobile insurance, of course), those of us in colder climates will have to clear our driveways and sidewalks at some point this winter.
It’s a chore that most of us dread, but it can also result in injury or be life-threatening. Follow these tips to stay safe and become more efficient at snow removal this season.
Step 1: The Physical Challenge
It’s not as cool as bragging about hitting the gym, but shoveling snow can be a great workout. It can also be a deceivingly intense workout, especially if you’re not prepared. Before grabbing the shovel:
- If you have a history of heart or back problems, check with your doctor first, just as you would before any strenuous activity.
- Stretch. Just as you would before a run or bike ride, you’ll be using your hamstrings, shoulders, back and muscles you didn’t even know you had.
- Stay hydrated. The cold weather and physical strain will take its toll, so drink plenty of fluids before, during and after the job.
You should be prepared with the right equipment long before the flakes start to fly. Here’s your shopping list:
- Start with the right clothing. This includes waterproof boots with good traction, gloves with a good grip and a hat that covers your ears. Dress in layers and remove extra clothing as you heat up.
- The shovel should be lightweight and have a blade that isn’t too large. This will prevent you from lifting too much snow each time. The handle should be long enough to allow for good posture when lifting.
- Once an area is mostly clear, use de-icer, sand or cat litter. Have these items on hand before your local hardware store sells out when a storm approaches.
- Rock salt is still the de-icer of choice for many of us. It’s inexpensive and effective, dissolving snow and ice on contact. But be careful: salt can corrode concrete and be harmful to pets and surrounding greenery.
- Alternatives to salt include calcium chloride and magnesium chloride. Available in crystal or liquid form, they can be applied as anti-icers before a storm and as de-icers afterward. They’re costlier than salt, though, and can damage floors and carpets when tracked indoors.
Step 3: Strategize
A little brainpower can make the process a lot easier. Before you start randomly shoveling areas like a madman, use these tips:
- Most areas you shovel are a rectangle. Determine the center point, then move snow to the nearest edge so that you’re going the shortest possible distance.
- Clean cars first. If you brush a foot of snow off your roof, there’s only one place for it to go, and you’ll be shoveling the same area twice.
- If a significant amount of snow is expected to fall, try to get a head start. It will be easier to shovel in several passes.
- The sun is your friend. Any exposed ground will warm up and melt the remaining area much quicker than a thick layer of white.
Step 4: As You Shovel…
Pacing yourself and using the proper technique is the key to preventing injury.
- Posture is everything. Keep your back straight and lift with your legs when you can’t push the snow. Keep one hand close to the shovel blade for better leverage, and don’t twist your body.
- Take frequent breaks. 15 minutes of shoveling should be followed by 15 minutes of rest.
- Team up. Joining neighbors and families will make the effort more enjoyable, quicker and safer.
Following these tips will make the snow removal process less of a headache (or backache), and give you more time to enjoy winter’s beauty.
By Nathan Erb
Next article: Upgrade Your Winter Driving Skills
